
I have long been in love with the look of horizontal panelling,
especially when painted white.
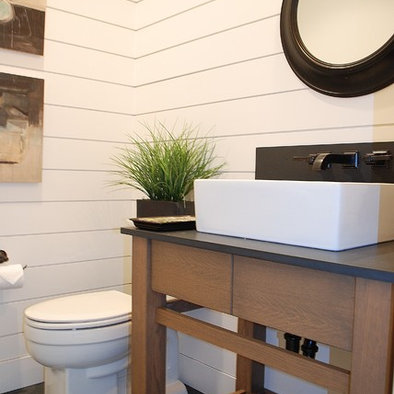
Source: www.houzz.com
I wanted to add more texture and visual interest to a very boring wall in my bathroom.
It acts as a focal wall in the small room, without adding darker colors or separating the space with color!
I started by comparing cheap and thin wood, with emphasis on the cheap part.
The wood I settled on was $7.00 per 8x4 sheet, so the price was right!!
The store I bought the wood at is very flexible about their cutting policy and I had them rip all 3 of my sheets into 4ft by 6inch boards.
Next I primed the back of all of the boards with Kilz primer, which resists mildew and seals out more moisture than normal primer.

After this, I did two coats of the paint (same color as my walls), but instead of painting it on, I rubbed it into the wood. I wanted to preserve the wood grain look.

Then, I nailed every piece onto the wall by the corners
and on the studs that each board crossed.
I used popsicle sticks for spacers. I got that idea from a
tutorial, though I'm non sure which one.


Woohoo ugly bathroom progress!

$21.00~Wood
$7.00~Nails
$0.00~paint (Already had!)
$0.00~Kilz (Already had!)
--------
Grand total: $28!!!
Now that's what I call a bargain!
I am in love with the difference it makes in the room!
Before:

After:

You can see the completed bathroom here
I love comments!! Thanks for reading!!
You are AWESOME!! Great job on the walls! I love the whole room!
ReplyDeleteThank you so much! :D
DeleteSo great Kae! Keep up the fun work. You have quite the eye for design!
ReplyDelete