Friday, February 21, 2014

35 Cent Faux Washi Tape Gallery Wall [Dorm Room Decor!]

Dorm Room Series Post 4
See the rest of the Dorm room series here!

Welcome back to Pretty Little Lady! I've been working hard between classes and on weekends to make my little dorm room feel like home. Today's topic is decor. Particularly on the largest wall in my room, above my bed. 
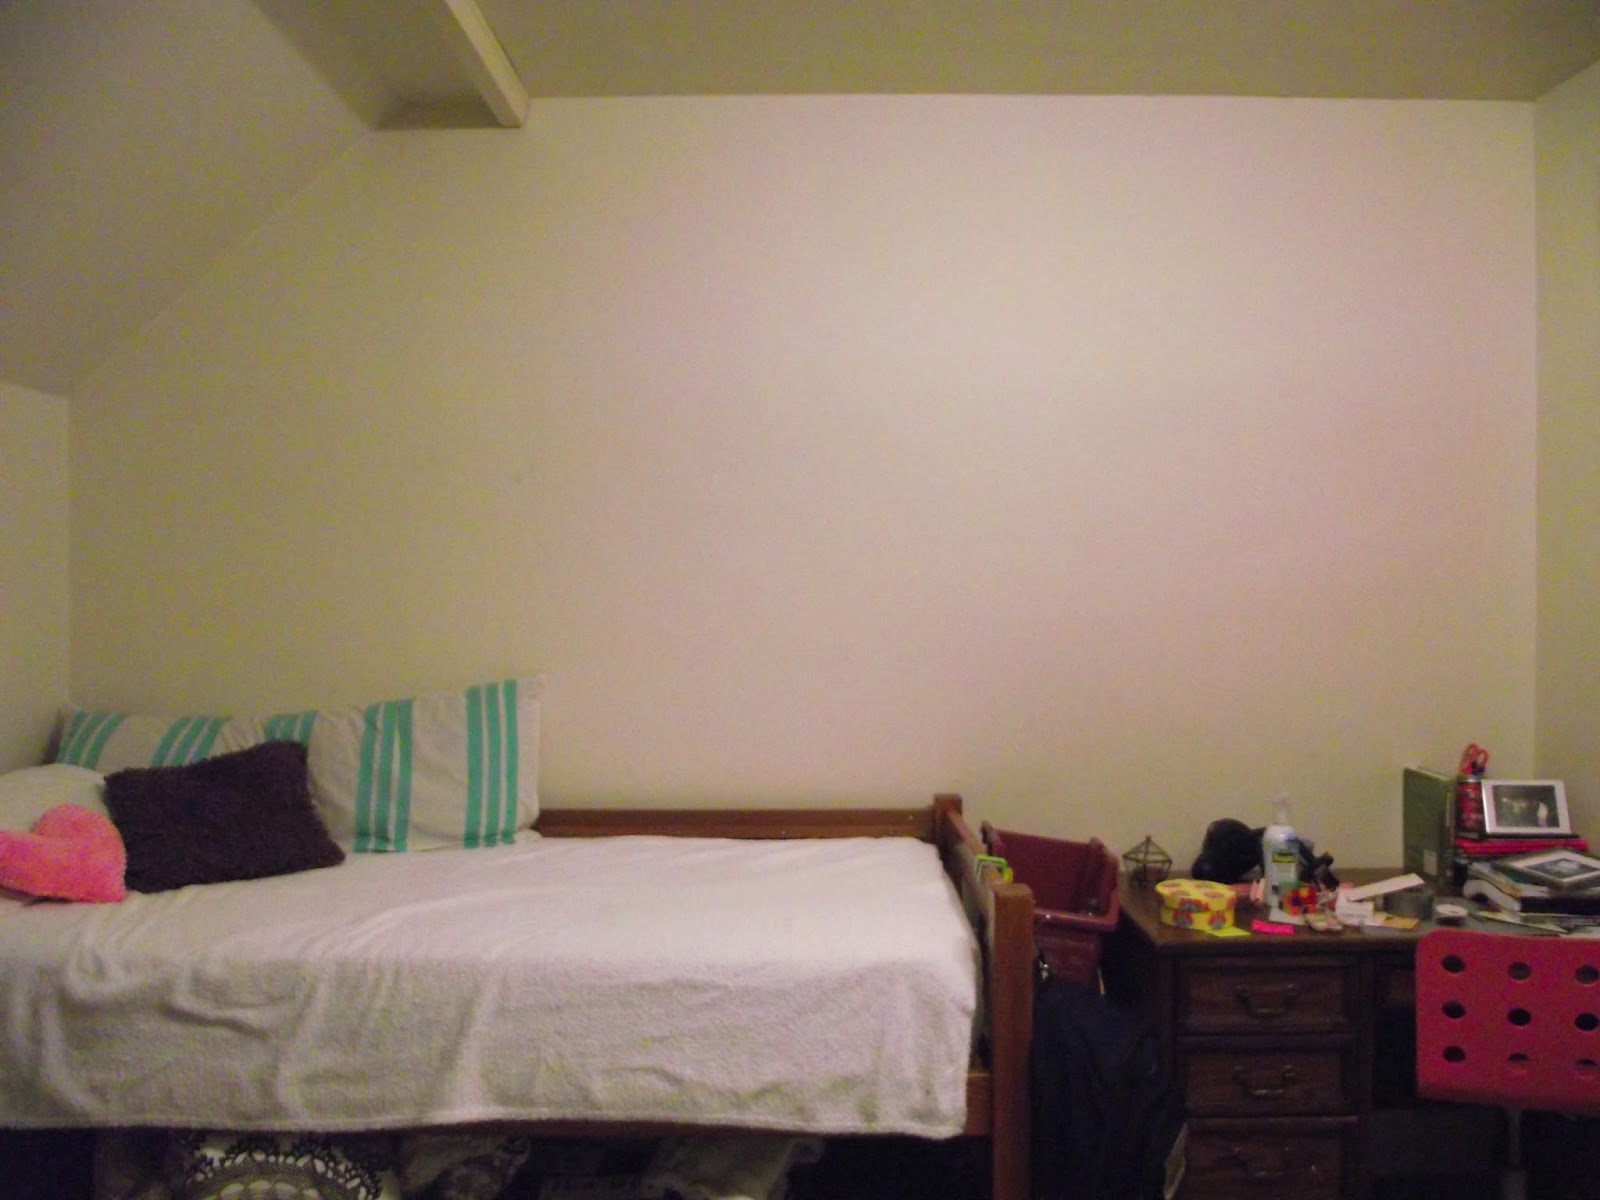
The high ceilings and near-white walls used to draw emphasis to this blank and boring section. I tried many things
After wasting a little bit too much time on Pinterest, I decided to go with a simple washi tape gallery such as these.

Hello Inspiration!!


Here is the blank slate before

And after
[obviously there was a bit of furniture rearrangement as well]

I loved the look of the black electrical tape and the washi tape patterns. The problem? I don't have any. The only tape up in this res. hall is duct tape and masking tape. I first arranged the images with the masking tape where you now see black, but it just didn't show up well enough on the off white wall. So, I cut strips of black paper to replace it! It was the perfect solution, and honestly looks like tape to me, with raw torn edges. 


Costs? $0.05 per piece of paper printed. All the "artwork" you see, with the exception of the Marilyn Monroe poster , was printed from a black and white printer. I took an x-acto knife to the letters in the quote and backed it with gold tissue paper. The red lips and blue eyeliner on the vogue poster were colored in with colored pencil. The flower was traced from a computer printout and cut out of gold paper [hint, you'll be seeing that pattern again very soon if all goes to plan]. The inkblot was glued to a black paper frame. Amelia Earhart and Twiggy were pieced together from two pages. 

Hope you like it! Feedback and Comments always appreciated! :)

Follow on Bloglovin

Wednesday, February 19, 2014

Well, that's a little embarrassing...


I always say: If you hide where you came from, it's impossible to see how far you have come. 
Today I'm having a little fun with a #TBT, design blog style! [#TBW I suppose. I'm too impatient to wait a day to post this. Another post coming to you on Friday though!]

Before I stuck with PrettyLittleLady, I had a few blog projects I started up. 

I would now like you to marvel in how un-attractive this little blog is.. hehe.
2011. Huh! I was only 16 then! Back when I was working on my bathroom remodel.


Now for the real fun part! My first ever blogged projects. 

Crafty DIY- Netbook Case 2011


 Remember netbooks? It definitely used to be my most prized possession. Let's just say I've upgraded since.

Design DIY-Pallet side table! 2011
100% free, made from one pallet, blood, sweat, tears and multiple curse words.


[Note the editing I did to this picture. Throwback enough in itself!]

I think it may have gotten thrown away. Poor thing. It's kinda cute. 

Bedroom Wall- My Beatles phase 2010
Complete with deep purple walls, records, and a DIY clock. Gallery wall? Darn straight. I rock. 


Here is one more throwback, coming to you from my indecisive mind.
This was the original vanity for my bathroom, before I found the perfect dresser!


Thanks all, folks!


Wednesday, February 5, 2014

The Power of Arrangement.

Dorm Room Series Post 3


You don't need to spend any money to update a space in your home! 
It's kinda crazy how a little bit of rearranging and staging can make such a huge difference in a space.
I spent a little time in three areas of my room, to make them look just a bit happier. Think it worked?

Tapestry Wall
 before.

after.
The simple change?
I started by hanging my Canadian flag on the far wall. With the other wall covered by the tapestry, the plain white wall opposite of it was just too plain white. Plus, I had no where else to show my Canadian pride! [I worked there all of last summer, and next summer! Plus, I'm a Minnesotan. They're pretty much the same place. hehe] Then, rearranging a bit allowed me to access the hamper easily. Then, I organized the shelf and carried the "beauty" trend through to it. I condensed the food to one shelf, made my radio-thingy more accessible, and added mirrors to the top. I didn't want the fridge/microwave to stick out too much, so I relocated the coffee stuff and added decor that matches the room. 


Er, this is supposed to be a productive work space or something.
before.

after.

The simple change?
First thing I did was remove the hutch. I just didn't need the space and it was way too clunky for my taste. I like having room to spread out. Where did it go? Under my bed. Lots of unused space there, actually! Oh, and I found a missing sock down there! Overall, very successful venture.  
Next was clearing off and relocating. I moved all of my books to another shelf, since I felt like they looked messy, no matter what way I arranged them. Only essentials and a few decorative pieces stayed in sight. I also utilized the wall with the calendar and space for notes. [I go through post-its like no other]. The last thing I did was add cover the desktop. The white brings a little bit of modern into the outdated desk.


My cozy little dormer cove
before.

after.

The simple change?

First, the lamp. The chair occupies the area well, but still leaves space feeling bare. 
Then, adding decor to the deep windowsill makes it seem shallower and appear cozier. It also allows for covering up a bit of the curtains [which wouldn't have exactly been my choice, if you know what I mean]. The heart pillow pulls the bright/modern hues of the books through to the vintage chair. 
Overall, adding more color into the cove made a huge difference. 


Tuesday, February 4, 2014

I think it's time to look at cool stuff now.

I thought it was time for a “Things I Love” post. So, here are some images that have me dreaming of the day I can afford to replicate these places. Enjoy!


[I always come back to this image. It’s like my dream chill-space. It has been my background image on my computer multiple times…]


This is gorgeous. Dream Home.